Making the (old) website using Pelican and GitHub Part 1
NOTE: This post is part of the old blog, where I used Pelican to create it, still useful for archival purposes

Me and many other data science enthusiasts who want to showcase their work, need a platform to do it. I needed a platform that is easily updatable, customizable and supports jupyter notebooks.
Pelican is a python based static site generator that fulfilled all the above criteria. It is open-source, has many plugins that can do things like add support for bibtex, can show jupyter notebooks and a whole lot else. Its also easy to customize without worrying about a lot of front end stuff.
In a series of posts, I will detail the making of this website in the hopes that it might help some of you folks looking to make an easy to use website free of cost.
Setup your github.io repository on GitHub
On GitHub, create a new repository with the name username.github.io where username is your GitHub username. Do not worry about creating branches or some such. You can do it on your local system.
Project Setup
Now create a folder where you can store all your website materials. This makes it easy to compartmentalize stuff. I named it WebApp.
Inside this folder, open your terminal or command line, whatever you use for running git commands and clone your repository.
git clone https://github.com/YOUR_USERNAME/YOUR_USERNAME.github.io.git
Go inside your repository.
cd YOUR_USERNAME.github.io
Create local branch named ‘pelican’ where you’ll store your pelican configuration files.
git checkout -b pelican
Install Pelican and other helper packages
It is always a good idea to use separate environments for projects. I used Anaconda environments. You can use virtualenv also.
conda create --name mywebsite
Activate this environment.
source activate mywebsite
Now you can download the packages you need for making this website. PyPI or pip makes this a one step process.
pip install pelican markdown ghp-import
You are ready to start!
Use
pelican-quickstart
Here is a screenshot of what options to choose.

Remember all of this is happening inside your USERNAME.github.io folder that you checked out before.
Also, yes, I am doing all of this using Ubuntu for Windows! Nifty little thing they did there.
Your website is almost ready!
Start building content
Once the quickstart process is complete, there will be a folder called content created for you. Create a folder called posts inside this folder.
Inside posts create a quick markdown file and fill it like the following.
Title: Welcome!
Date: 2019-03-21
Category: welcome
Tags: blog
Slug: welcome
Summary: Welcome to my blog where I talk about data minining, machine learning, reinforcement learning and other types of learning.
Status: published


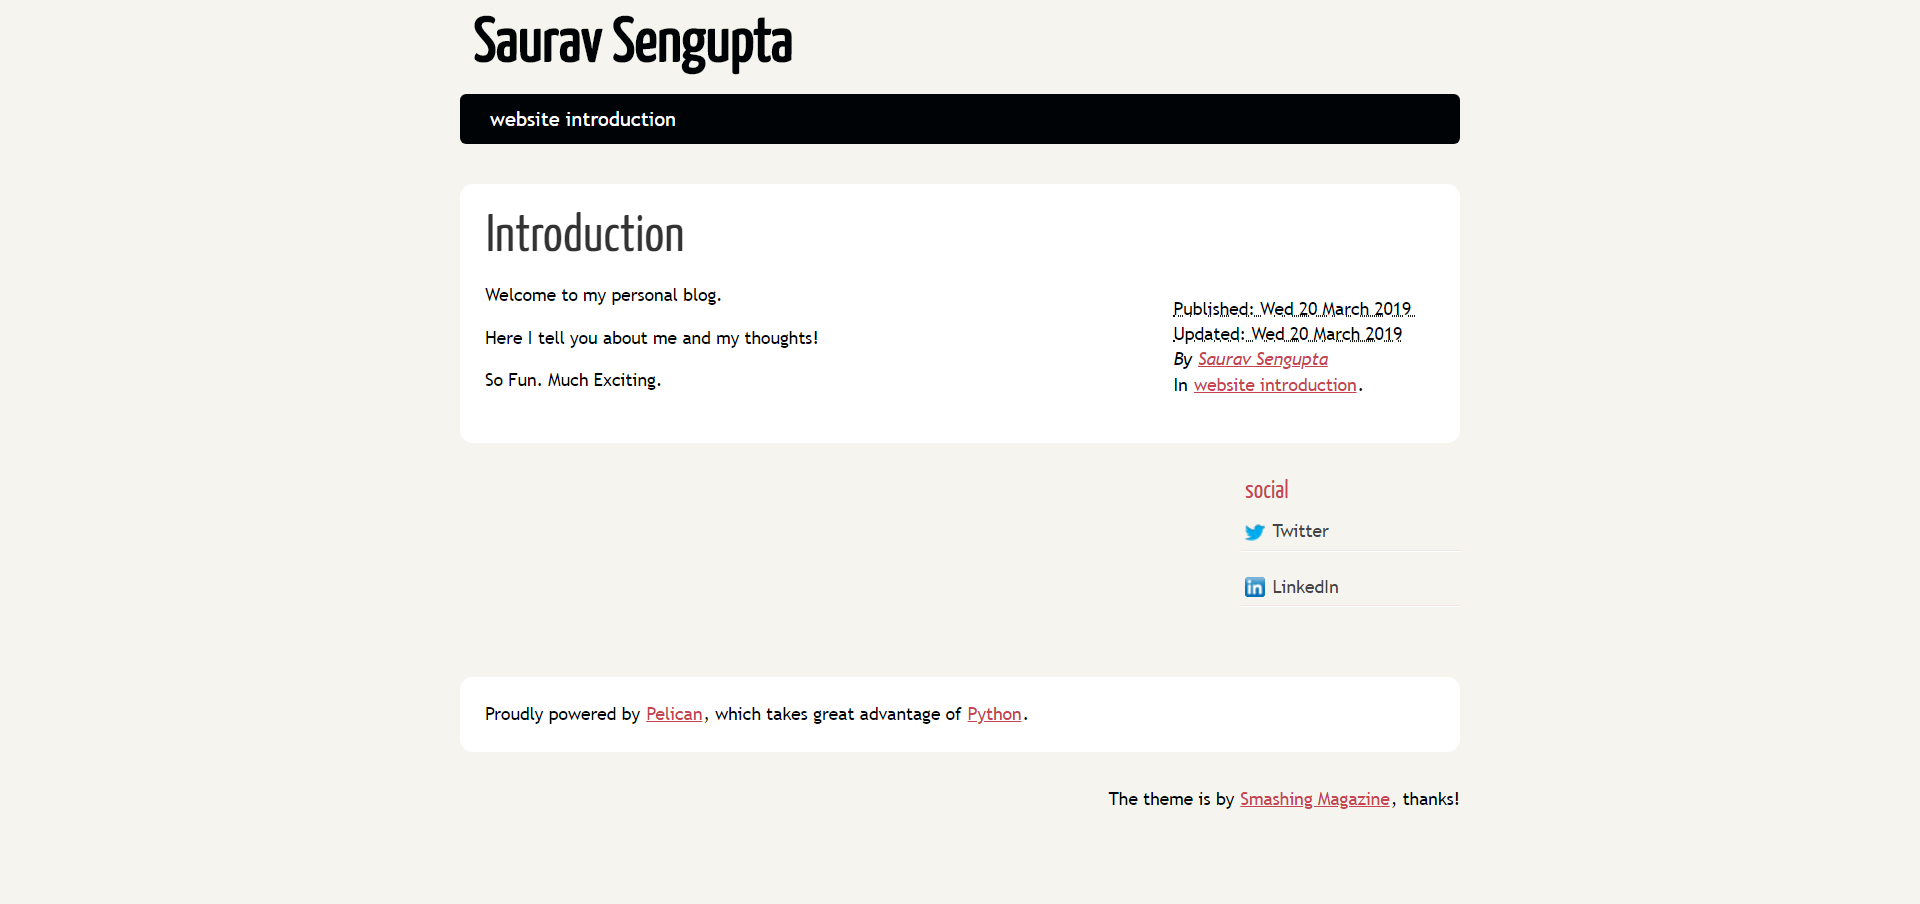
Welcome to my personal blog!
To see how it looks do the following:
make html && make serve
It should be up on http://localhost:8000.

Publishing to GitHub
Before committing, its good practice to have a .gitignore file in your directory. My .gitignore looks like this.
## ignore files
/output/
/node_modules/
/__pycache__/
I’ll address the ‘node_modules’ in a later post.
Use the following commands one after the another to commit all of the generated stuff to GitHub.
git add -A
git commit -m "my first blog"
git push
What comes next will blow your mind!
Using just one command, you can generate a working github.io website.
make github
It usually takes a little bit of time to show up. But now you have a working website that you can show to others..
Or maybe not. Your choice.
Part 2 will cover adding themes and plugins to your Pelican website.
Stay tuned.
Enjoy Reading This Article?
Here are some more articles you might like to read next: