Making the (old) website using Pelican and GitHub Part 2
NOTE: This post is part of the old blog, where I used Pelican to create it, still useful for archival purposes

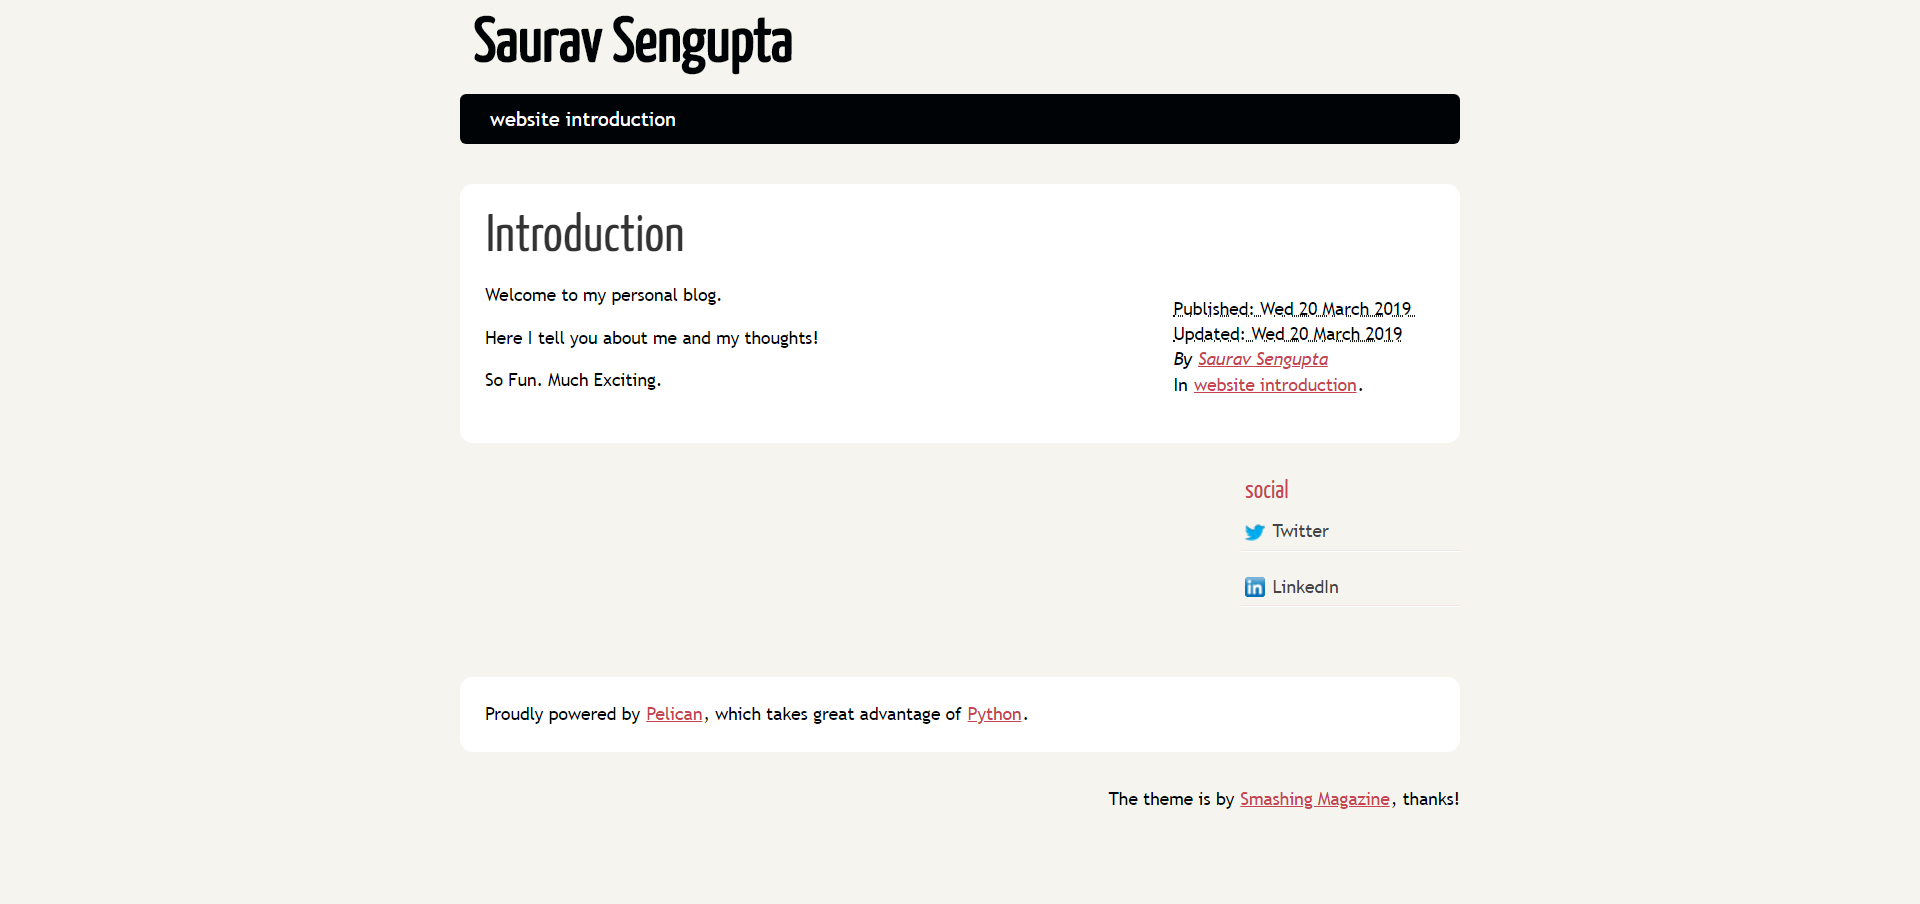
This is the default theme from Pelican, which looks fine and achieves most of the stuff you need.
I needed a cleaner looking theme though and one that I could customize. Thus, started the hunt for the theme.
Hunt for the theme
Here are the resources I found after Googling. Maybe you’ll find better.
However, none of them seemed to look good to me. Also, most of them were updated a while ago, and might break in the future.
The one which I liked was the ‘pelican-bootstrap3’ theme.Its regularly updated and widely used.
But I felt something was missing. So I turned elsewhere.
I stumbled upon this blog post by Sven Kreiss. I liked the website and the fact that both of us are kind of in the same domain. He is using a customized theme named ‘pure’ available here.
The pelican-themes github repo mentioned above also has a version of the pure theme, if you want to check that out.
Decided on the theme. What now?
Honestly, you can find a lot of themes in the wild online. However, there are some commonalities between all of them.
What are those you might ask? Here we look at the all important pelicanconf.py file.
pelicanconf.py
This file is generated after the quick start step and contains, as the name suggests, all the different configurations for your website.
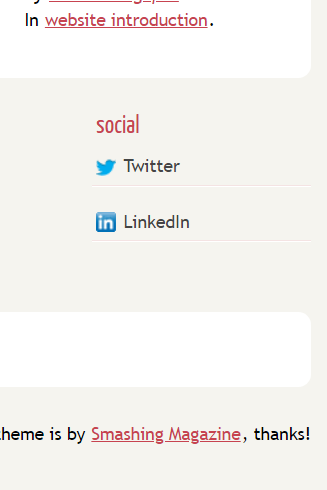
For example the SOCIAL variable. Here’s what it can look like:
SOCIAL = (
    ('twitter', 'https://twitter.com/sauravsen111'),
    ('linkedin', 'https://www.linkedin.com/in/saurav-sengupta/'),
)
Which results in:

This ease of use is so awesome that it almost makes me believe in God. Its great living in the 21st century.
Pelican does not have emoji support though.. so I am back to being…agnostic..?
That went off-track soon. Back to website building. It gets tricky from here on out.
Getting the themes you want
Somewhere outside your checked out repository folder create a pelican-themes folder and checkout the theme you want. For example,
git clone https://github.com/svenkreiss/pure.git
or checkout the whole pelican-themes repo, if you want to be that way about it.
Installing and using themes
Just do
pelican-themes -i /path/to/themes/pure
Check if the theme is installed
pelican-themes -v -l
Go to the pelicanconf.py file and do
THEME='pure'
Generate the pages using
pelican content -D -s pelicanconf.py -o output
Barring any errors, your theme should start working the next time you start your server using
make devserver
Installing and using plugins
Go ahead and checkout the whole pelican-plugins GitHub repo in the folder of your choice.
We will talk about the all purpose liquid_tags plugin here.
It has pretty good documentation on how to use it but still I’ll go over how to use it here.
Add the following to your configuration file-
PLUGIN_PATH = '/path/to/pelican-plugins'
PLUGINS = ['liquid_tags.img', 'liquid_tags.video',
           'liquid_tags.youtube', 'liquid_tags.vimeo',
           'liquid_tags.include_code', 'liquid_tags.notebook']
To insert the image in your markdown use this inside your markdown-
<figure>

  <picture>

    <source
        class="responsive-img-srcset"
        media="(max-width: 480px)"
        srcset="/assets/img/blog_snapshot-480.webp"
      />
    <source
        class="responsive-img-srcset"
        media="(max-width: 800px)"
        srcset="/assets/img/blog_snapshot-800.webp"
      />
    <source
        class="responsive-img-srcset"
        media="(max-width: 1400px)"
        srcset="/assets/img/blog_snapshot-1400.webp"
      />


    <!-- Fallback to the original file -->
    <img
      src="/assets/img/blog_snapshot.png"
      class="img-fluid rounded z-depth-1"
      width="auto"
      height="auto"


      data-zoomable
      onerror="this.onerror=null; $('.responsive-img-srcset').remove();"
    />

  </picture>

</figure>
Hold up.
Where do you store your images and files?
Where to store files and images
Create folders named images and files inside your content directory.
Set the following parameter in your configuration file-
STATIC_PATHS = ['images', 'files']
Put your images inside the images folder.
Done.
Phew.
This part 2 should give you enough of a head-start to make a working, good looking website.
Explore themes and other people who have used those themes to find out and learn more about the ones you want to use.
Stay golden people. Peace.
Enjoy Reading This Article?
Here are some more articles you might like to read next: